
Khanh Hoang - Kenn
Kenn is a user experience designer and front end developer who enjoys creating beautiful and usable web and mobile experiences.
Organic Groups (OG) is the social networking solution for Drupal. It forms the basis of http://groups.drupal.org and also powers Drupal Commons, the widely used social networking distribution.
OG allows users to create and manage their own groups. Other members can then join those groups and share content either privately or publicly.
Two notes of caution before we start:
Here's an introduction to OG for Drupal 6. Click here for our tutorial on Organic Groups for Drupal 7.
You'll need to download and install this module of course:
OG will work without them but to really make use of OG you'll certainly need these modules too:
When you visit the modules page to enable modules, make sure to enable all of the Organic group submodules.

After enabling the modules, you'll see a message saying "The content access permissions need to be rebuilt." Click "this page" and follow through the steps until the process is finished.

Here's the key thing to understand about Organic Groups: they are entirely based on Drupal's nodes.
The groups themselves are nodes and the content shared inside the groups are nodes. When you set up a new content type, you can decide whether nodes in that content type become groups or content within groups.


However, to really use OG, you'll need to make use of Views and Panels.


Because OG is integrated with Views, you use Views to setup a lot of the key landing pages for your social network.
If you want to control the layout of your page, you will need Panel.


From this point onwards, there is still a lot of work to do in order to create a social site, but hopefully the principles are now clear. The process of getting OG setup is Content > Views > Panels.

Kenn is a user experience designer and front end developer who enjoys creating beautiful and usable web and mobile experiences.
![]()


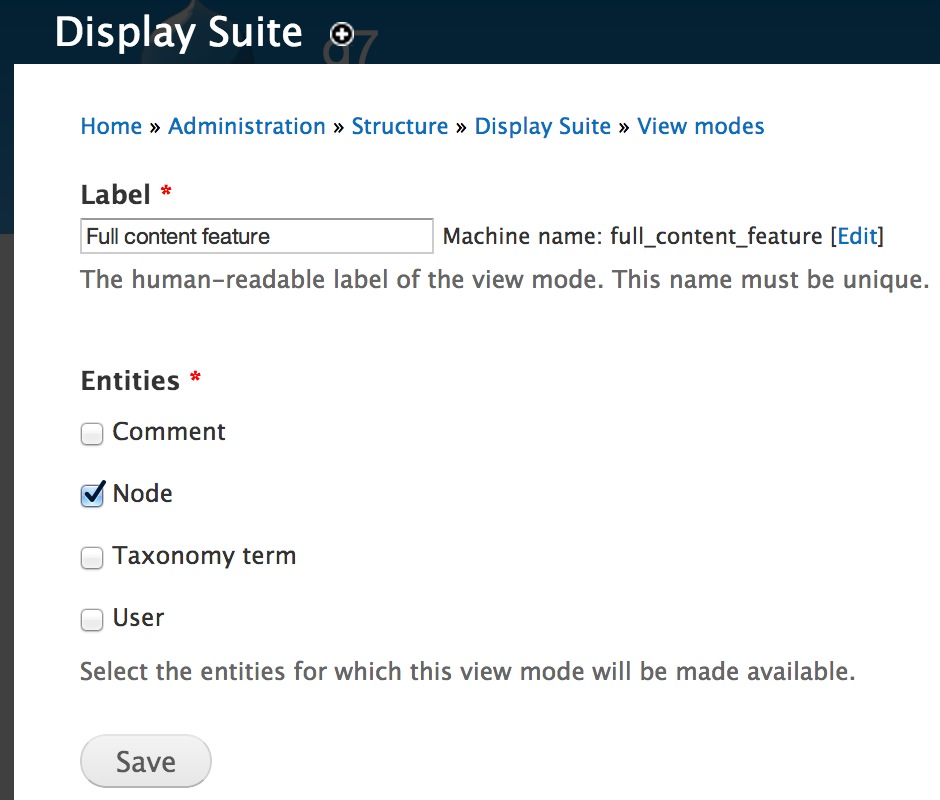
When it comes to managing the look and feel of a content page, nothing can beat Display Suite. It's become an essential module for when you need to change the layout and fields on a node or any entity page.
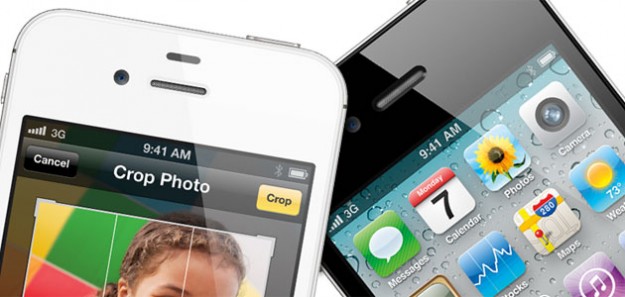
Chỉ một tháng sau khi phát hành, iPhone 4S đã nhanh chóng lọt vào top những smartphone chụp ảnh phổ biến chia sẻ ảnh lên mạng Flickr.
This article provides a step-by-step tutorial for creating a custom, multistep registration form via the Ctools Form Wizard in Drupal 7


")


