
Khanh Hoang - Kenn
Kenn is a user experience designer and front end developer who enjoys creating beautiful and usable web and mobile experiences.
When it comes to managing the look and feel of a content page, nothing can beat Display Suite. It's become an essential module for when you need to change the layout and fields on a node or any entity page.
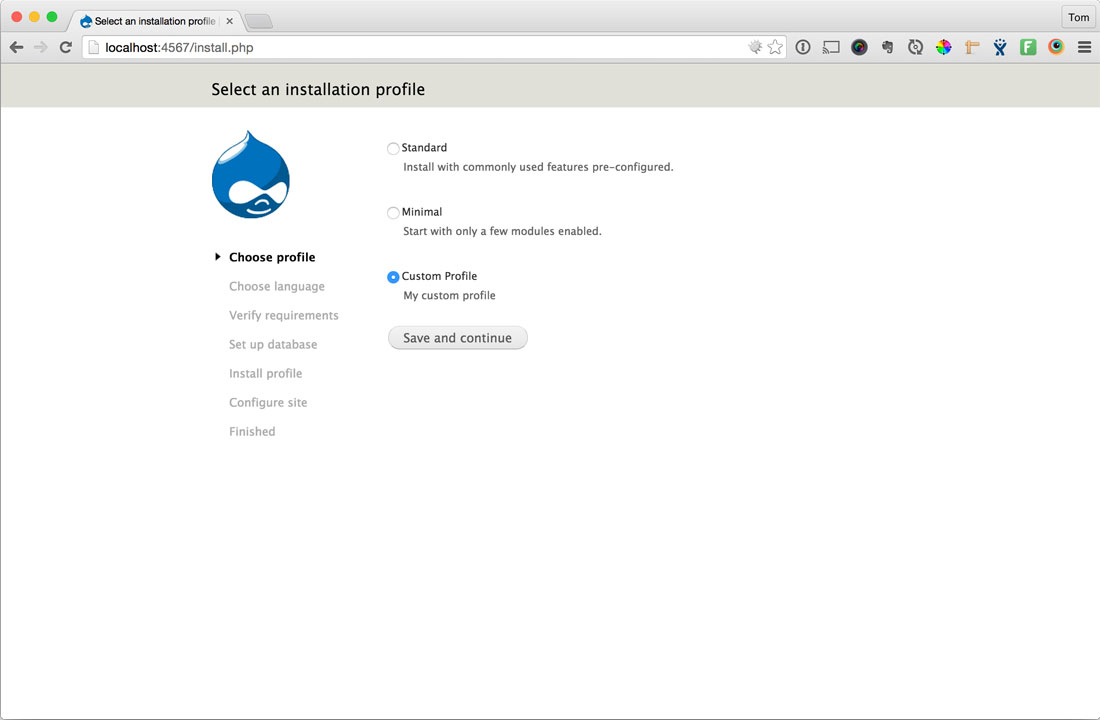
Today I want to talk about a piece of functionality that you may not be aware of in Display Suite. It's the ability to switch the view mode will be used for an individual node.
Let me explain, when you go to a node page (node/1) the "Full content" view mode is displayed. But, you can only have a single version of this view mode for each content type.
Display Suite can be setup to allow authors to select a specific view mode on an individual node.
Instead of displaying "Full content", you could, on a select group of nodes use another view mode called "Feature landing page".

This functionality is not exclusive to Display Suite. You can do similar stuff using Panels or Panelizer.
In this tutorial, we'll create a custom view mode called "Full content feature" and we'll allow an editor to select which one will be used on individual nodes.
I'll assume you have a basic setup of Display Suite and you have customised the "Full content" view mode.
The functionality that we're after is stored in the "Display Suite Extras" sub-module and not in the main module.
So go ahead and enable the "Display Suite Extras" sub-module.

The first piece to the puzzle is to create a new view mode called "Full content feature".
Let's go ahead and do that now.
1. Go to Structure, Display Suite and click on the "View modes" tab.
If you can't see a "Display Suite" link on the Structure page, then make sure you enable the "Display Suite UI" sub-module.
2. Click on "Add a view mode" and enter in "Full content feature" into the Label field and check the Node checkbox. Then click on Save.

Now that we have a new view mode go ahead and configure it by defining a layout and add a few fields.
1. Now go to Structure, Display Suite and this time click on the Extras tab next to List.

The Extras link will only appear if you enable the "Display Suite Extras" and "Display Suite UI" sub-module.
2. Click on Other and then check the "View mode per node" checkbox.

Then click on "Save configuration".
Now that we've configured everything, head over to Content, "Add content" and click on Article. Scroll down and you should see a vertical tab called "Display settings".

Then select a specific view mode from the "View mode" drop-down list and save the node form.

That's it, the specified view mode should be displaying instead of the standard "Full content".
Before we finish up, you can also display a different view mode by passing a GET parameter on the node page.
If you add v?full_content_featureafter node/1so it's node/1?v=full_content_feature, it'll switch to the view mode specified in the vGET parameter.
If you've never enabled the Extras sub-module, have a play around with it. It's got a lot of neat little tricks that are very useful. Also spend a bit of time researching what's available in the sub-module.
Q: I created a custom view mode but can't select it from the "View mode" drop-down list on the node form.
For view modes to appear in this drop-down list you must select it from the "Custom display settings" vertical tab on the "Manage display" page.

Q: I tried to create a URL alias for node/1?v=full_content_featurebut it didn't work. How can I get clean URLs to work?
You can not create a URL alias with a GET parameter in the URL. This is a limitation with Drupal.
If you need full control over the URLs, then look at implementing all of this functionality using Panels.

Kenn is a user experience designer and front end developer who enjoys creating beautiful and usable web and mobile experiences.
![]()


Dịch trực tiếp từ thanh địa chỉ của trình duyệt hoặc thanh tìm kiếm, bằng cách thêm vào một công cụ tìm kiếm (trong Chrome) hoặc một bookmark dẫn tới...
Now that I’ve laid the ground work for the approach that I want to take with local environment development with
Recently Google Launched a new Multi Gmail Login feature for its users, which allows them to login different Gmail account from the same browser without signing out...


")


 thành dấu (.)")
